A proof-of-work photo is the single most underused piece of marketing collateral in local service businesses. Every job produces a few. The good ones earn trust faster than a 5-star review. The bad ones quietly cost you the call — because they show up next to your competitor's good ones in the local pack, and the prospect chooses with their thumb in half a second.
This article is about the difference between the two.
What "proof-of-work" actually means
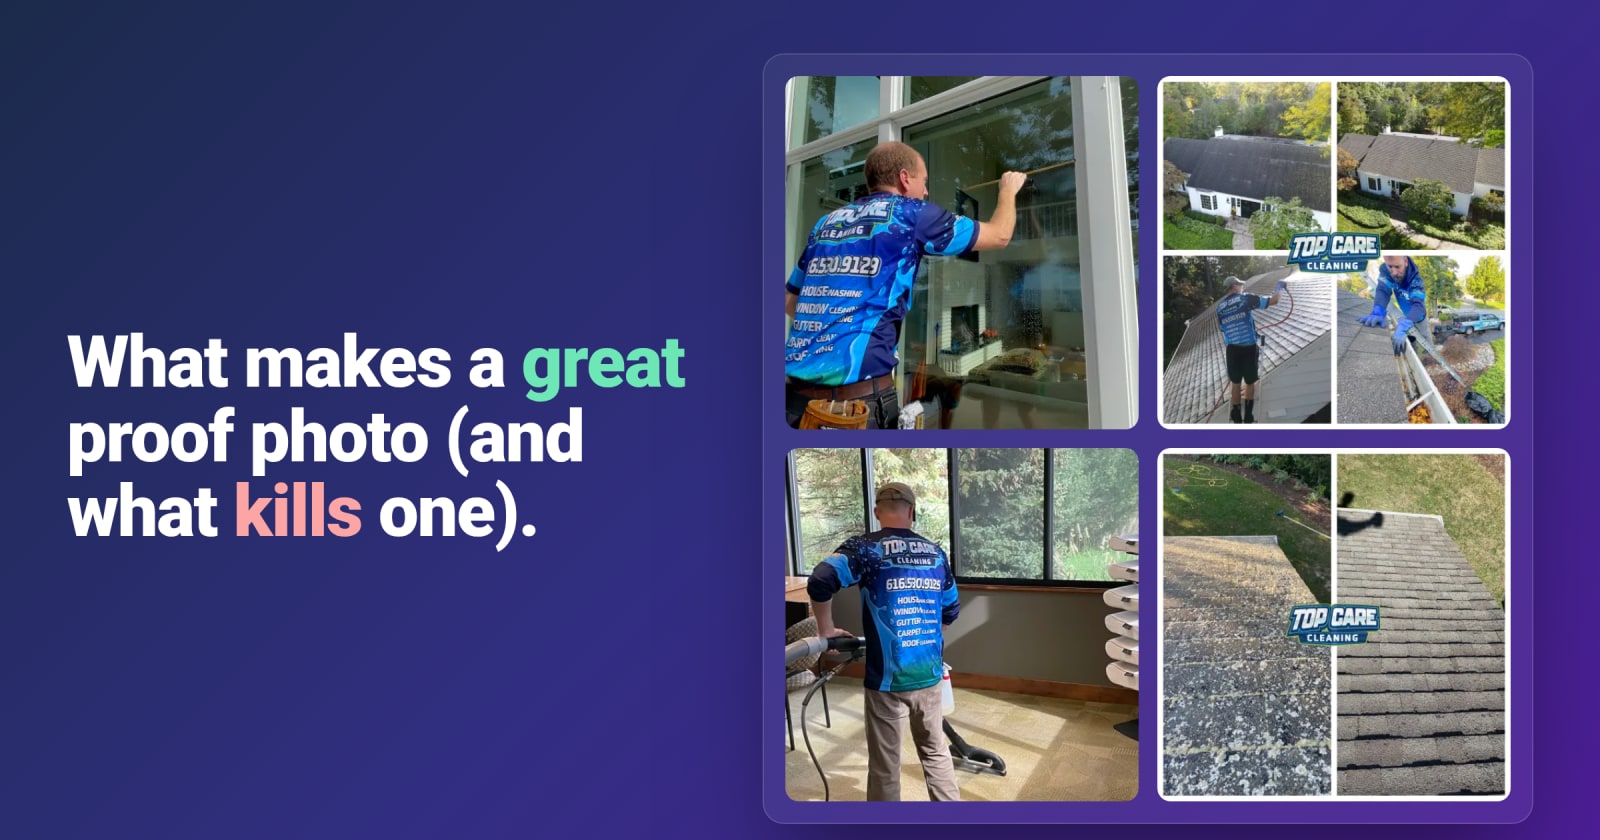
A proof-of-work photo is evidence that you did the thing. Not a stock photo of a happy family. Not a logo on a colored background. Not a screenshot of a review. A photo of actual work, in an actual customer's space, taken by the person who did the job.
It signals three things to a prospect, none of which they could get from a testimonial:
- You exist in the real world. Stock photos and logos prove you have a website. Job-site photos prove you have a truck and a crew.
- The work matches the promise. Anyone can say "we deep clean." Showing the before-and-after of a deep clean is a different category of claim.
- You're active right now. A photo from yesterday says you're booked. A photo from 2022 says you might be out of business.
What makes one great
Lighting
Good lighting is 60% of the difference between a strong proof-of-work photo and a weak one. The rules are simple:
- Use natural light when you can. Open the blinds. If the window is behind you, that's free professional lighting.
- Avoid backlighting. Don't shoot toward a window — your subject becomes a silhouette.
- If you must use artificial, use the room's actual lights. Don't add a flashlight from the side. Flash on a phone almost never makes a photo look better.
The single most useful test: look at your phone screen as you frame the shot. If it looks bad on the screen, it'll look worse once posted. Trust the preview.
Angle
Three angles that work for almost any service:
- Eye level. The natural angle a customer would see the result from. Default to this.
- Looking down at a counter / floor / surface. For cleaning, grout, kitchen surfaces, polished hardware.
- Wider context shot. For exterior work — pressure washing, landscaping, roofing — back up far enough to show the whole result.
Avoid: ground-level "looking up at the ceiling" angles, dutch tilts, the floor of the kitchen taken from waist height.
Framing
Frame for the result, not the room. If you cleaned the oven, the oven should fill 70% of the frame — not the whole kitchen with the oven barely visible in the corner. If you mulched the bed, the bed should be the subject, not the whole yard with the bed somewhere in the middle.
The rule of thirds is overkill for this. Just center the subject and fill the frame.
What to include
The best proof-of-work photos include something that gives away the work was done:
- A glimpse of your tools or equipment in the corner of the shot.
- A tech's gloved hand in frame finishing the work.
- A piece of your branded equipment — truck, uniform, supply box.
These details don't have to dominate the photo, but their presence signals that this is real work done by a real crew, not stock or marketing-team contrived.
What kills a proof-of-work photo
Clutter
The single most common killer. The shower is sparkling, but there's a plunger leaning in the corner, a wet towel on the floor, and a pile of mail on the vanity. The eye goes to the clutter, not the work. Two seconds of staging before you shoot — move the plunger, kick the towel out of frame, slide the mail away — fixes 80% of proof-of-work photos.
Bad angles
"Phone shot from waist height while the tech is also holding a clipboard" is the universal bad angle. The phone is tilted, the framing is off, the lighting is whatever was overhead, and the result is a photo nobody would stop scrolling for. Slow down, get to eye level, frame the shot, then take it.
No context
A close-up of perfectly clean grout is technically a proof-of-work photo. But without enough context to recognize "this is a bathroom floor," the viewer's brain treats it as abstract texture. Pull back enough that someone scrolling past can recognize what they're looking at in under a second.
Customer information visible
Mail with the customer's name on it. A license plate. A framed family photo. A driver's license on the counter. A laptop screen with someone's email open. These need to be cropped out or staged out before you shoot — both for the customer's privacy and because the moment a prospect notices it, they're not thinking about your work anymore, they're thinking about whether you respect privacy.
Make this a checklist for techs: scan the frame for anything with a name, address, or face on it before you tap the shutter.
Faces of customers or kids
Don't post photos with the customer's family in them unless you've explicitly asked. Even when you have permission, a photo with the customer's family becomes a photo about the customer, not about your work. Save those for thank-you cards.
Strong vs. weak: side-by-side examples
Cleaning — kitchen counter
Strong: Eye-level shot, natural light from the window, counter fills 70% of the frame, before/after composite shows the contrast clearly, a corner of the branded supply caddy visible at the edge.
Weak: Waist-height phone shot, flash on, glare on the counter, half of a refrigerator and a pile of mail also in frame.
Landscaping — mulched bed
Strong: Wide-enough shot to show the full bed against the house background, taken at the same angle as the before, late-afternoon light makes the mulch color pop, a wheelbarrow in the corner.
Weak: Close-up of one square foot of mulch with no context, taken at noon with harsh overhead sun bleaching the color out.
Roofing — replaced shingle section
Strong: Drone shot or ladder shot showing the repaired section in context with the rest of the roof, slight overcast for even lighting, clear before/after pair.
Weak: Phone held over the roof edge, blurry, half the shot is gutter, the actual repair is barely visible.
The "social media test"
Before you publish, ask one question:
If a stranger scrolled past this on Instagram or Facebook, would they stop?
If the answer is no — the composition is weak, the lighting is muddy, the clutter steals the eye, the contrast is mild — don't post it. A weak proof-of-work photo doesn't just fail to convert; it dilutes the signal of your stronger ones. The local-pack algorithm averages your photo quality. One weak photo doesn't hurt much. Twenty weak photos teaches Google that your business is mediocre.
Better one great photo per week than five weak ones.
How to make the standard easy to hit
The hardest part of this isn't the photography. It's making sure the standard gets applied consistently — across techs, across jobs, across months. The two things that fix that:
- A short visual training doc with 3–5 examples of "this is great, this is not" for each service vertical. We use one at Top Care. It's 8 pages including pictures.
- An approval queue between the tech and the platform. The owner spends 5 seconds per photo to decide "approve / send back / kill." That single filter step is what keeps the weak ones off your GBP.
The approval queue is one of the reasons we built Hosted Proof. Without it, photos go straight from tech to feed, and the standard drifts. With it, you get a 5-second-per-photo quality gate that doesn't slow the publish workflow down meaningfully.
The compounding
One great proof-of-work photo doesn't move the needle. One hundred great ones, posted at a steady cadence over a year, do. They become a portfolio. They become the answer to "are these guys legit?" before the prospect even calls. They become the reason your GBP outranks the competitor who has more reviews but worse photos.
Start with the next job. Snap two photos, eye level, decent light, no clutter. Apply the social media test. Post the strong one. Do it again. By month three you'll have a body of work; by year one you'll have a moat.